Road to Vostok is a tough survival shooter where every run involves scavenging, staying alive, and making it back safely. Our Road to Vostok guide helps you survive your first challenging runs with smarter looting, cleaner combat, and fewer mistakes you could avoid.
Basics and First Steps
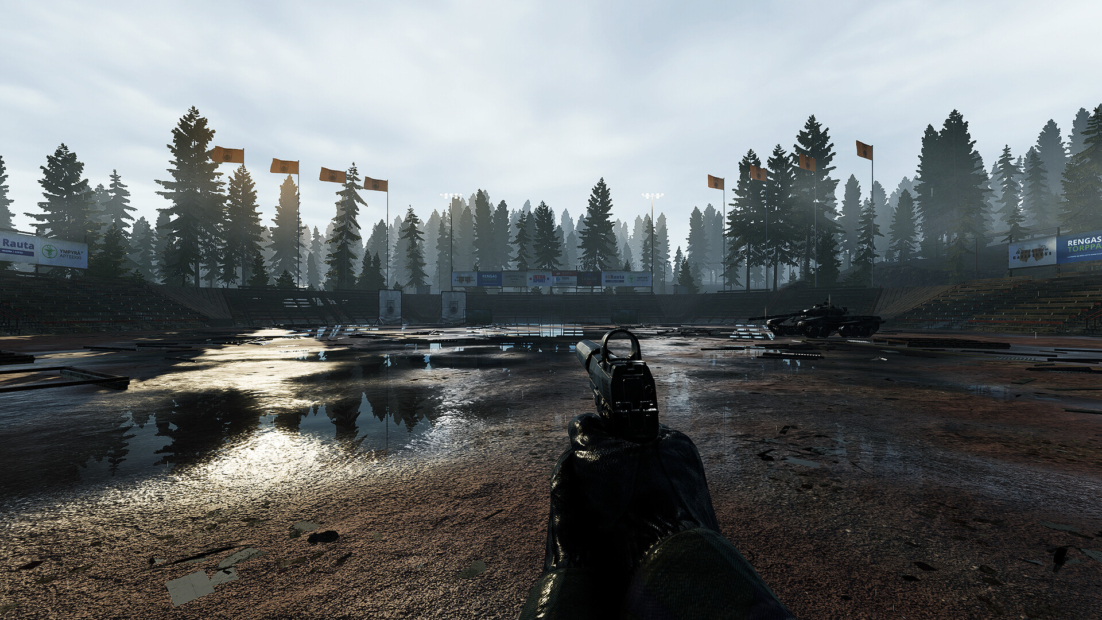
Your first hours in Road to Vostok focus less on fighting and more on establishing a safe routine. You start in Area 05, which is the closest thing to a starting zone in the game. It’s where you access shelters, traders, tasks, and your first useful loot. Think of it as a place to learn the rules.
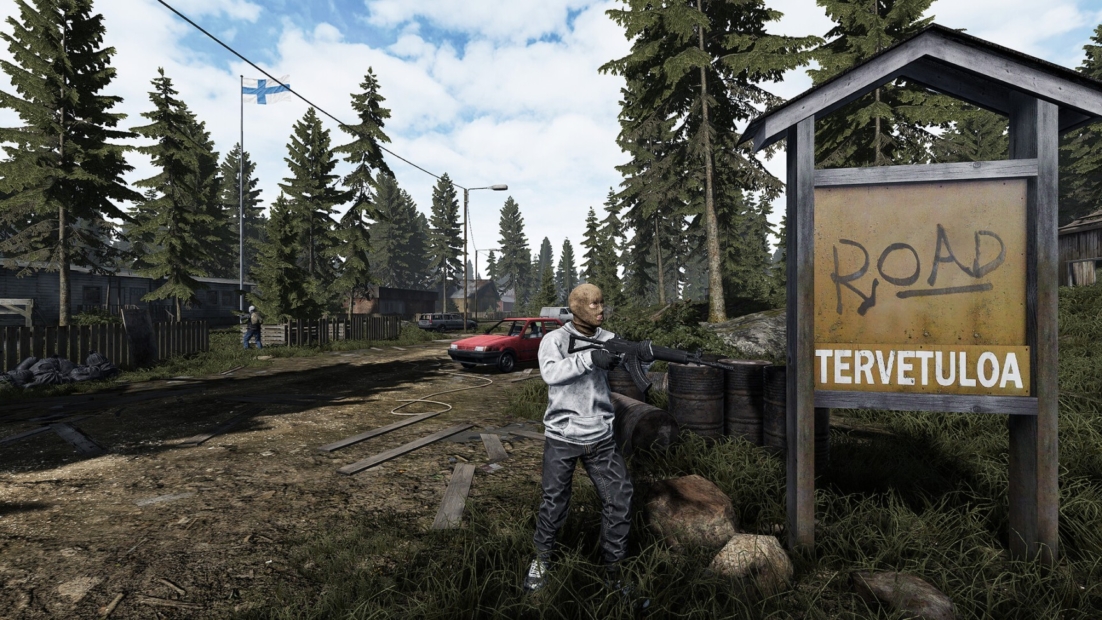
Your primary goal in Road to Vostok should be to reach the Village. There, you’ll encounter the Generalist and the Doctor, two NPCs that influence your early progress. The Generalist helps you get started in the game’s barter-based economy, while the Doctor quickly makes it clear that medical supplies are essential. If you head into the wild before visiting both, you’ll make the early game significantly more difficult than necessary.
What makes each area different:
- Area 05 is your safer starting space for learning systems and gathering basic supplies
- Border Zone is where things get dangerous with guarded crossings, obstacles, and other serious threats
- Vostok is the high-risk area where the rewards are best, but dying there hurts a lot more
The top priority in Road to Vostok is securing access to shelter. It’s your safe place, your stash, and your method for saving progress. Until you have that, every risky trip feels much worse than it should.
Good early habits:
- Walk around fights if you can. Your starting gear is too weak for careless mistakes.
- Use the treeline when heading toward the Village. Staying hidden is often better than winning a fight.
- Check trader inventories early to find out which items are truly valuable for barter.
- Save frequently once you have a shelter instead of carrying everything around and hoping for the best.
Inventory Tips
Inventory space in Road to Vostok is something you have to learn, like aiming or map knowledge. The game uses a Tetris-style grid, so every item shape matters. Early on, your bag will always feel too small. That’s normal. The real skill is learning what deserves a slot and what should stay behind.
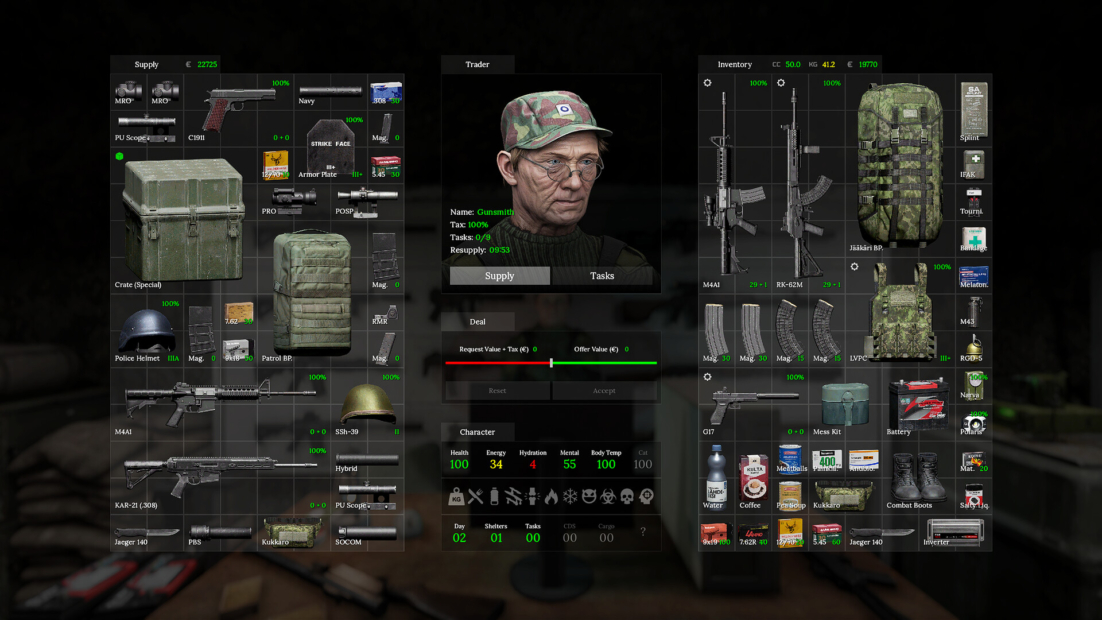
Your medical supplies should always take priority.
- 3 Bandages are the minimum. Bleeding can end a run faster than most gunfights.
- 1 Lotion helps with wounds and lowers the risk of bigger problems later.
- 1 Tourniquet is worth carrying for emergencies, even if you hope you never need it.
Once your healing is taken care of, you can focus on food and weapons. New players in Road to Vostok often do the opposite. They grab bulky loot, fill half their bag with random junk, and then realize too late that they have no space for the essentials that actually keep them alive.
A solid beginner setup looks like this:
- Makarov with 2 spare magazines because the ammo is common and the pistol is dependable
- 2 cans of food like Meatballs or Pea Soup, since they offer good value without taking up too much space
- Flashlight because dark buildings and night runs can get messy quickly
- AKS 74U if you want a lightweight primary that still packs enough punch for early areas
The main trap in Road to Vostok is weight. A heavy item might seem useful, but that doesn’t mean it belongs in your backpack. Items like a Field Ration or oversized weapons are often better left at your shelter unless you’re planning a longer run. If guards start chasing you, every extra kilogram suddenly feels very real.
A few habits make inventory management much easier.
- Rotate items before giving up on a slot. One turn can free up a surprising amount of space.
- Stack and merge items whenever possible to keep your bag flexible.
- Drop low-value heavy loot first if you need to free up space quickly.
- Plan ahead, considering not only what you want to bring but also what you hope to take back.
A good inventory in Road to Vostok should feel boring in the best way. It covers your wounds, keeps you fed, provides a backup weapon, and still leaves space for loot. That’s the balance you need.
How to Treat Injuries
In Road to Vostok, injuries are serious because each one requires a different response. You can’t just patch everything the same way and expect it to work. A fracture will gradually drain your health and impair your movement, swimming, and jumping, escaping even harder. Bleeding is even worse because it drains health much faster and can end a run before you realize how serious it is.
Bleeding should always be your first priority.
- Bandage for regular bleeding
- Tourniquet for severe bleeding and emergency stabilization
- Medkit or IFAK if you need stronger recovery and broader treatment
If you’re bleeding, stop what you’re doing: don’t keep looting, don’t keep pushing, and definitely don’t start a long sprint. Address the problem first. A Bandage takes a few seconds to apply and can also restore some health, while a Tourniquet is more about stopping the emergency immediately.
A fracture is a kind of injury that can trick you into making poor decisions. You might still be alive, but your movement becomes so much worse that the next fight is far more dangerous than the first. Treat it as urgent, especially if you are far from safety.
These items can deal with fractures:
A Splint is the most immediate fix, but it doesn’t heal the injury. Instead, it stabilizes it, which is exactly what you need if your leg is slowing you down and you still have to get out alive.
It’s also easy to concentrate too much on gunshot wounds in Road to Vostok and forget about the slower killers. Running out of energy or hydration is a serious issue because both can cause passive health decline over time.
A simple treatment order works best:
- Stop the bleeding
- Stabilize fractures
- Restore lost health
- Eat or drink if your basic needs are crashing
- Move only after you’re under control again
The safest mindset is to treat every injury like a problem that worsens if you delay fixing it. In Road to Vostok, surviving a fight doesn’t matter if you bleed out or limp into the next disaster five minutes later.
Combat Guide
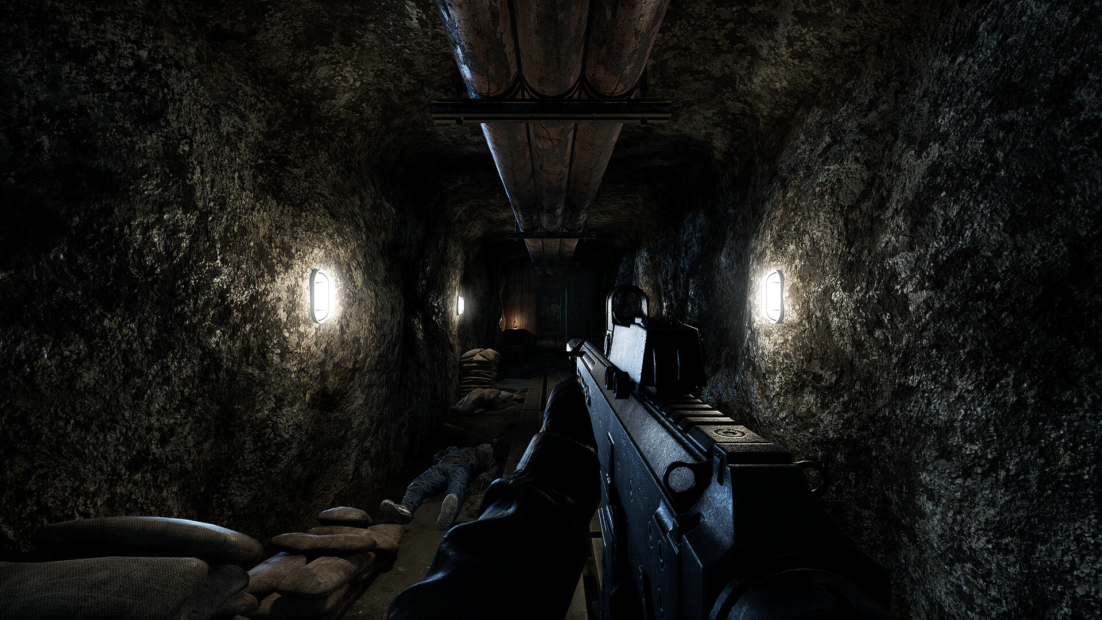
Combat in Road to Vostok focuses less on hero plays and more on keeping fights small. In Area 05, the main threat is usually Bandits, and they are much easier to handle one by one than as a group. This matters because enemies can appear in groups, and open areas make it easier for you to be shot from angles you can’t control.
The safest approach is to fight as if you’re already outnumbered, even when you’re not.
- Use trees, walls, and buildings to cut sightlines before you peek again
- Don’t swing wide into open ground just to finish one enemy
- Reposition after each brief exchange so the next shot is yours, not theirs
Against bandits, speed matters more than style. They are lightly equipped compared to what waits farther east, so clean hits end fights quickly. If you have a pistol like the Makarov, you want a fast, controlled engagement, not a sloppy panic mag dump. Bandits can carry a variety of weapons and gear, which means even a basic fight can escalate if you give them too much time.
- Against lightly equipped enemies, go for quick headshots if you have the angle
- Against better protected targets, center mass is usually the safest option.
- If you’re under pressure, move diagonally and make yourself harder to track

Ammo discipline is crucial for surviving longer runs in Road to Vostok. You can’t afford to waste ammunition, especially since each reload and missed burst costs resources you might need later. This becomes even more vital once you leave Area 05 and face better-protected enemies and tougher crossings.
After the fight, don’t act like it’s over yet.
- Check for bleeding immediately
- Bandage before looting
- Reload and reset your position
- Only then check bodies or containers
That last part is what prevents a “won” fight from turning into a pointless death. In Road to Vostok, surviving combat isn’t just about landing shots. It’s about ending the fight on your own terms.
Survive Your Way with PLITCH!
If you want to make the game less punishing, PLITCH’s Road to Vostok cheats can help reduce the pressure of the game’s harsh survival systems. Instead of constantly worrying about your basic needs, you can use codes like Unlimited Health, Unlimited Energy, Unlimited Hydration, Unlimited Oxygen, Unlimited Mental, and Unlimited Body Temp to keep focused on exploration, looting, and learning the map. Unlimited Body Stamina and Unlimited Arm Stamina are especially useful for smoother movement and less downtime during long runs.
If you prefer a gentler approach, you can also use Refill Health, Refill Hydration, Refill Oxygen, or other refill options for quick recovery without losing all the tension. And if you want complete control, codes like Set Health, Set Energy, and Set Mental allow you to customize the experience to fit your playstyle.
To learn more about PLITCH, check out this blog and our YouTube channel!
Happy Gaming!
You might also like:
PakarPBN
A Private Blog Network (PBN) is a collection of websites that are controlled by a single individual or organization and used primarily to build backlinks to a “money site” in order to influence its ranking in search engines such as Google. The core idea behind a PBN is based on the importance of backlinks in Google’s ranking algorithm. Since Google views backlinks as signals of authority and trust, some website owners attempt to artificially create these signals through a controlled network of sites.
In a typical PBN setup, the owner acquires expired or aged domains that already have existing authority, backlinks, and history. These domains are rebuilt with new content and hosted separately, often using different IP addresses, hosting providers, themes, and ownership details to make them appear unrelated. Within the content published on these sites, links are strategically placed that point to the main website the owner wants to rank higher. By doing this, the owner attempts to pass link equity (also known as “link juice”) from the PBN sites to the target website.
The purpose of a PBN is to give the impression that the target website is naturally earning links from multiple independent sources. If done effectively, this can temporarily improve keyword rankings, increase organic visibility, and drive more traffic from search results.
Comments are closed, but trackbacks and pingbacks are open.